How to build bridges and inclines in Animal Crossing: New Horizons
Reach the previously unreachable.

At a glance, navigating your Animal Crossing: New Horizons island can be tough. Massive portions are inaccessible for the first several hours of the game, and can only be traversed by obtaining the proper tools, like a Vaulting Pole or a Ladder. If you've been itching for a more permanent fix to this nuisance, that's where bridges and inclines come into play. They're the solution you need to properly fix your island and keep traversal from being a massive headache.
How to build bridges in Animal Crossing: New Horizons
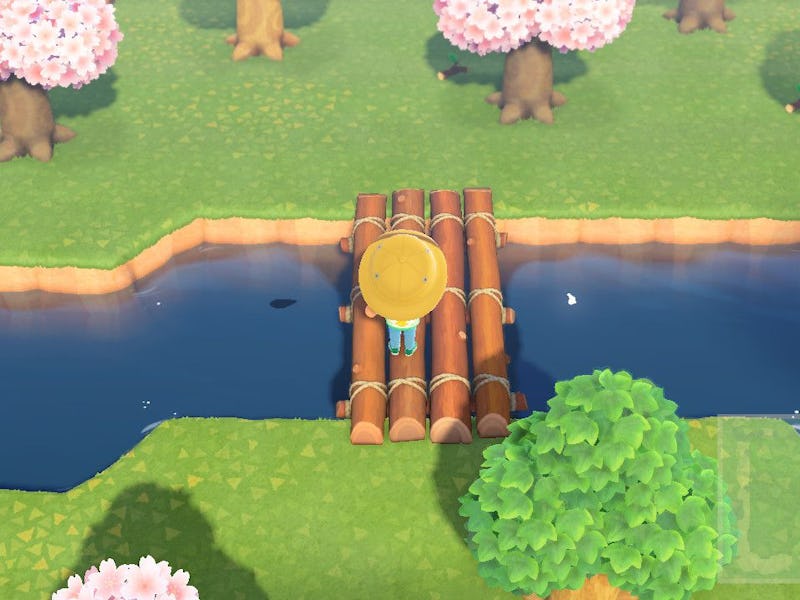
After you've built your island's shop, Nook's Cranny, Tom Nook will speak to you about possibly adding more villagers, but alas there isn't enough space! To remedy this, you'll need to open up your island a bit by adding a bridge to cross the river. This first bridge is free, all you need to do is build it using a bridge kit that Tom Nook provides, then you need to place it. Simple as pie!
Your first bridge
Additional bridges can be added after you upgrade Resident Services to a full building. Speak with Tom Nook, he should have an option that reads, "Let's talk infrastructure." The tanuki salesperson will ask you to select if you'd like to build another bridge to cross a river or an incline to easily connect a lower place to an elevated area without using a ladder. You may also use this menu to demolish any existing bridge for 10,000 Bells.
Once you've chosen between a bridge and an incline, you'll need to scout for a proper location. Stroll around town a little to make a selection. As with other permanent structures, you'll be able to imagine how it might look prior to starting construction, so make sure you're happy with the location.
After confirming that, Lloid, your island's resident foreman, will inform you that he requires donations to build the new bridge or incline. By donations, he means that you should pay for it on your own. Other residents might donate bells here and there, but you'll be paying the bulk of it. Pay the price by speaking to him, and it'll be built by the next day.
If you plan on building multiple bridges and inclines, make sure to plan which ones have the greatest importance to your island. You can only build one bridge or incline a day. You cannot build two simultaneously. If you're a style-conscious Animal Crossing player, you should also make sure to choose a bridge or incline that goes with your design sensibilities. Better to save up Bells and buy the right structure the first time around.
Animal Crossing: New Horizons bridge styles and prices
- Log bridge – 98,000 Bells
- Suspension bridge – 129,800 Bells
- Stone bridge – 168,000 Bells
- Wooden bridge – 168,000 Bells
- Brick bridge – 198,000 Bells
- Zen bridge – 228,000 Bells
- Red zen bridge – 228,000 Bells
- Iron bridge – 228,000 Bells
Animal Crossing: New Horizons incline styles and prices
- Natural ramp – 98,000 Bells
- Blue-plank ramp – 128,000 Bells
- White-plank ramp – 128,000 Bells
- Log staircase – 168,000 Bells
- Stone staircase – 168,000 Bells
- Brick staircase – 198,000 Bells
- Red steel staircase – 228,000 Bells
- Blue steel staircase – 228,000 Bells
Animal Crossing New Horizons is currently available for purchase on Nintendo Switch
This article was originally published on