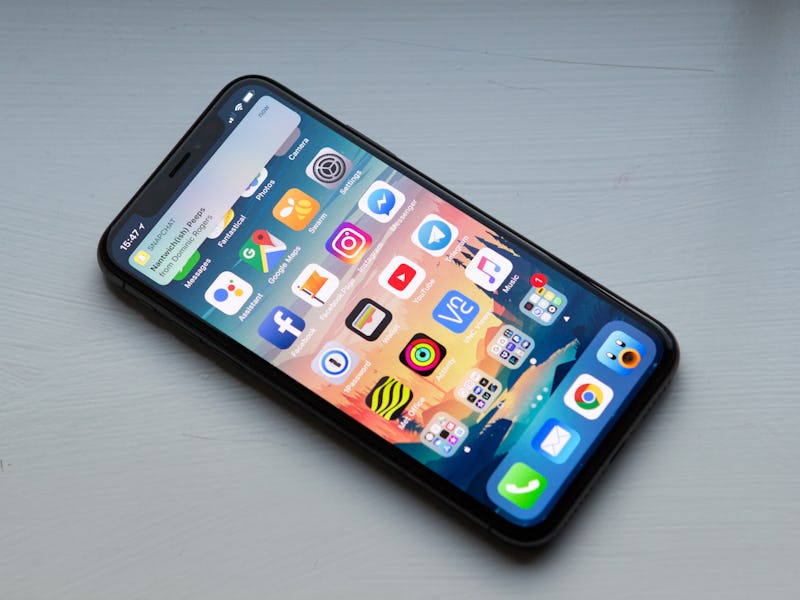
3 Ways iOS 12 Beta 8 Will Let iPhone Geeks Tweak Their Notifications
Gain new control over your messages.

Apple’s upcoming iOS 12 software release has seen a slew of updates as it enters what are anticipated to be its last few weeks of beta testing.
On Thursday, the eighth beta version of the OS that will likely come with this year’s new trio of iPhones revealed a few cool new ways to personalize how iPhone geeks can tweak notifications.
Ever since iOS 12 was announced in WWDC 2018 in June, it was advertised to reduce the number of notifications Apple users had to swipe, tap, and scroll through every day. It stacks all notifications from one app in neat piles and makes acting on them simpler than ever. Now, this latest patch gives users the power to choose when, where, and how they want their those banners to appear.
The ability to tweak when and how you’re interrupted could be a game-changer for how people use and think about their iPhones. With the Apple event on the horizon, it’s likely that we’ll see these types of customization tools in the three iPhones expected to be launched in September.
1. iOS 12 Beta 8: Change How You See Certain Emails
The default Mail app lets you add as many inboxes you want. However, iOS 11 and previous software iterations would only let you turn off or turn on notifications for all of your inboxes at once. This means you’d get important emails from work mixed up with the useless spam from your burner address and the conspiracy articles your uncle sends to your personal account.
That’s no longer an issue with iOS 12.
Redditor WSig spotted that they could adjust how the Mail app sent notifications.
Opening the Settings app, tapping on Notifications, and navigating to the Mail menu you can set exactly how you want to receive notifications for each of your inboxes. So you can have office emails ping you, keep spam out of your feed, and have your uncle’s message appear in your Notification Center…just so you can humor him with a response every no and then.
2. iOS 12 Beta 8: Edit Notifications From the Lock Screen
In fact, iOS 12 makes adjusting notification settings so easy that you don’t even need to go to tap through settings anymore. Simply swipe left on any banner in your Notification Center and tap “Manage.”
This will bring up a menu that lets you either turn off notifications for that specific app or deliver them quietly, which just means they’ll just appear in your Notification Center without pinging you.
3. iOS 12 Beta 8: Schedule Do Not Disturb
Before iOS 12, the Do Not Disturb option would silence all incoming notifications until you decided to turn it off manually, now there’s a middle ground. Holding down on the Do Not Disturb symbol in the Control Center brings up a menu that gives you three options to momentarily take yourself off the grid if you need to focus or rest.
The first two are both time-based, but the third one is perfect for when you need to hunker down at school or work to finish something important. As long as you stay put at your desk Do Not Disturb will continue to silence notifications. But once you’re ready to leave, simply stand up and walk around and the setting will be switched off.